

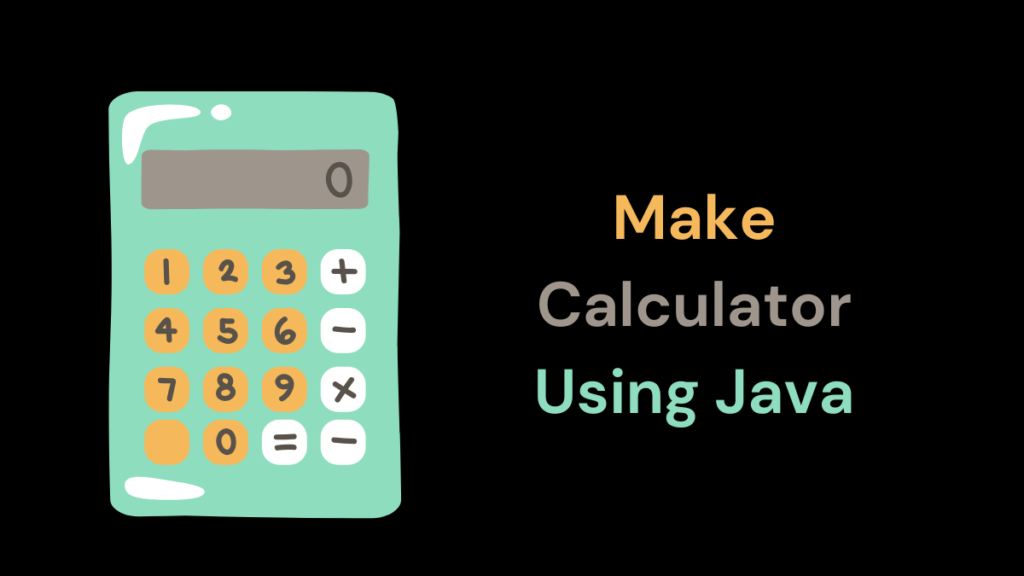
Learning how to make a calculator using Java is a great way to improve your programming skills. Building a calculator involves creating a user interface and implementing the logic to perform arithmetic operations. This article will guide you through the process step-by-step.
First, you need to set up your development environment. Make sure you have the Java Development Kit (JDK) installed on your computer. You can download it from the official Oracle website. Additionally, you’ll need an Integrated Development Environment (IDE) like Eclipse or IntelliJ IDEA to write and run your Java code.
Creating the User Interface
The first step in making a calculator is to create the user interface (UI). In Java, you can use the Swing library to build graphical user interfaces (GUIs). Here’s how you can create a basic calculator UI:
- Create a new Java project in your IDE.
- Create a new class named
Calculatorthat extends theJFrameclass. - Add a
JTextFieldcomponent to display the input and output. - Add
JButtoncomponents for the numbers (0-9) and arithmetic operations (+, -, *, /). - Use layout managers like
GridLayoutorBorderLayoutto arrange the components.
Implementing the Logic
Next, you need to implement the logic to perform arithmetic operations. You can do this by adding an action listener to each button. When a button is clicked, the action listener code will be executed.
- Create a variable to store the current operand and operation.
- When a number button is clicked, append the number to the
JTextField. - When an operation button is on use, store the current operand and operation.
- When the equals button is clicked, perform the operation using the stored operand, operation, and the current operand.
- Update the
JTextFieldwith the result.
Here’s a simple example of how you can implement the addition operation:
private double operand1 = 0;
private double operand2 = 0;
private char operation = ' ';

// Action listener for number buttons
private void numberButtonClicked(int number) {
    String currentText = textField.getText();
    textField.setText(currentText + number);
}

// Action listener for operation buttons
private void operationButtonClicked(char op) {
    operand1 = Double.parseDouble(textField.getText());
    operation = op;
    textField.setText("");
}

// Action listener for equals button
private void equalsButtonClicked() {
    operand2 = Double.parseDouble(textField.getText());
    double result = 0;
    switch (operation) {
        case '+':
            result = operand1 + operand2;
            break;
        // Add cases for other operations
    }
    textField.setText(Double.toString(result));
}
Adding More Features
As you become more comfortable with Java programming, you can add more features to your calculator. For example, you can implement more arithmetic operations like square root, exponentiation, and trigonometric functions. You can also add support for parentheses and order of operations.
Additionally, you can improve the user interface by adding keyboard shortcuts, displaying the previous calculations, and providing options to customize the calculator’s appearance.
Testing and Debugging
Finally, it’s important to test your calculator thoroughly to ensure it’s working correctly. Test it with various inputs and edge cases, such as dividing by zero or entering invalid input. Use the debugging tools provided by your IDE to identify and fix any issues.
Discover: How To Scrape Google Search Results With Python
Conclusion
Building a calculator using Java is a great way to learn about user interface design, event handling, and implementing logic. By following the steps outlined in this article, you can create a functional calculator and further enhance your Java programming skills.