

Introduction
Have you ever wanted to look at a solar eclipse safely? Or perhaps you just want to project an image onto a wall or screen in a cool way. Well, a pinhole projector can do that for you! It is an uncomplicated instrument that uses optics to project an inverted picture on a display surface. In addition, it is very simple to create one yourself with only some common items.
What You Will Need
Below is what you should have:
- A cardboard box (a shoebox or cereal box works great)
- Aluminum foil
- A sewing needle or thumbtack
- White paper or a white surface to project the image onto
- Tape (optional)
Step 1: Prepare the Box
Take off one of the smaller sides of your pinhole projector box for use as its main body. Doing this will create an opening through which light can enter.
Then, line the inside of your box with aluminum foil. The foil reflects light and makes images brighter. If necessary, use tape to secure it in place.
Step 2: Make the Pinhole
Now it’s time to make a tiny hole on one side of your box opposite its open end. This will act as your pinhole through which images get projected outwards from this device.
Tip: Smaller holes give sharper projections but don’t make it too small otherwise little amount of light would pass through.
Step 3: Set Up for Viewing
After that, set up your pinhole projector so that you can see any image or scene. First, aim the open part of this box towards whatever object or scene you’d like to project.
Then inside this same box -opposite its makeshift lens-, place either some white paper (or any surface) where these visuals will appear on as they’re being formed by said lens system.
Step 4: View the Projected Image
If everything has been done correctly, there should be a reversed version of whatever scene was outside coming into focus onto those lined papers located within!
For better results, observe in darkened room or use it during night time. The darker it is, the more colourful and sharper will be the image you see.
Uses for a Pinhole Projector
Other than just projecting images, there are many cool things you can do with a pinhole projector. Below are some suggestions:
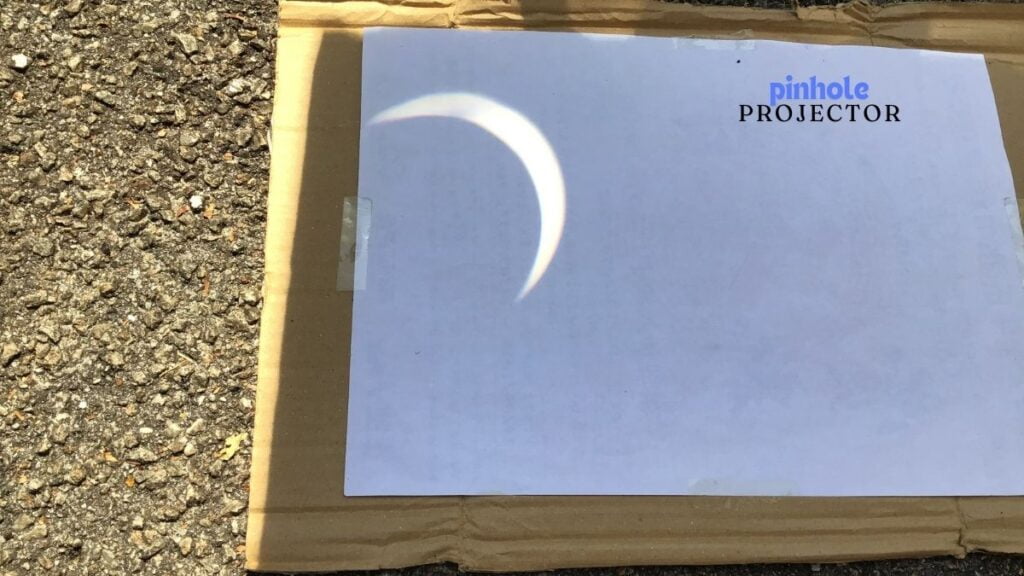
- Safely view solar eclipses by projecting an image of the sun
- Project artwork, photos or patterns onto walls/screens etc.
- Use as a camera obscura to trace images
- Teach about optics e.g. how lenses work in cameras
Discover: Making A Calculator With Java
Conclusion
Building your own pinhole projector is not only cheap but also provides an exciting way to learn more about light and optics. Simply gather some basic materials found around the house and before long you’ll be able to project anything from solar eclipses to your favourite photographs onto any surface in unique fashion. Get hands-on with science while having fun!